Lighting equipment changes where light comes from and how it reaches the subject. A softbox is not inherently flattering, and a bare flash is not inherently wrong. Both can be useful when their shadow pattern fits the image. Begin by deciding what the viewer should notice: a face, a surface texture, the outline of an object or a separation between foreground and background.
Observe direction and apparent size
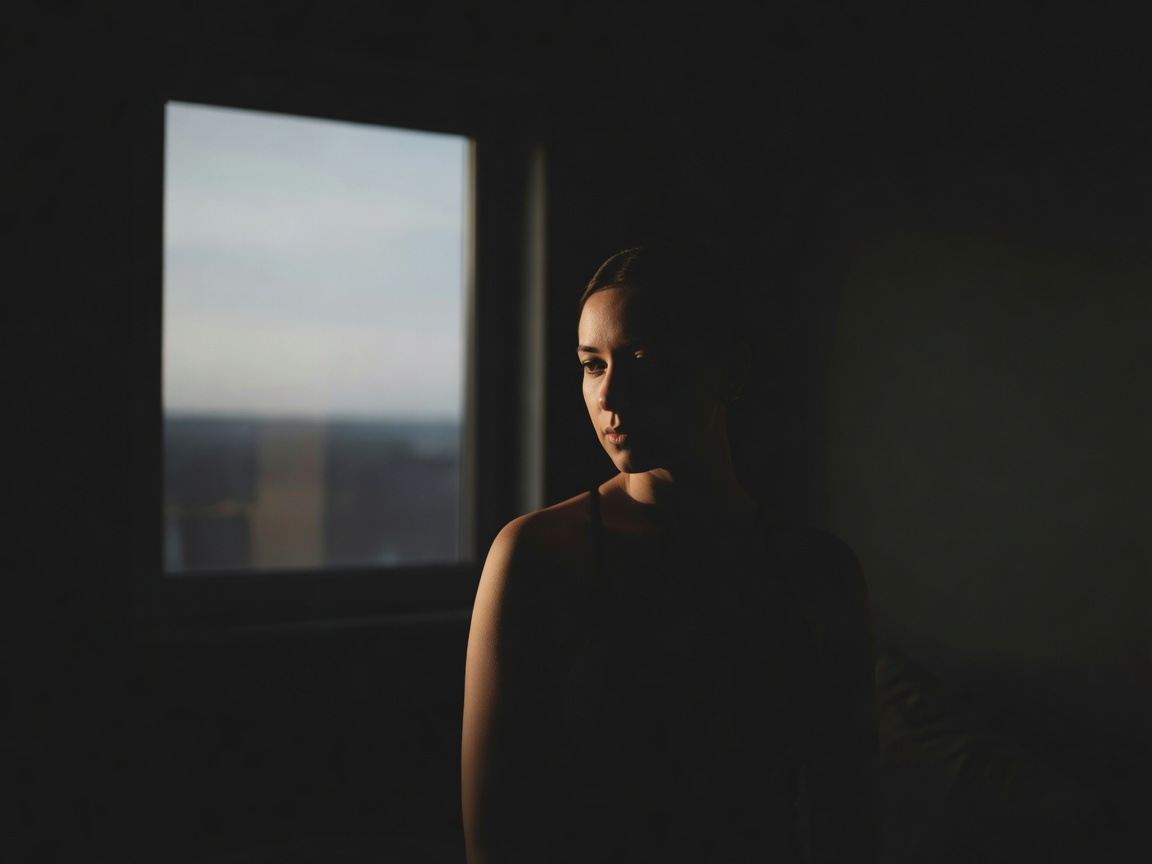
Look at the shadow under the nose or beside a small object. Its direction indicates the source position; its edge transition indicates the source’s apparent size from the subject’s viewpoint. A large window close to a face usually produces softer transitions than the same window seen from across the room. Brightness and softness are separate properties: dimming a small lamp does not make it a large source.
Turn the subject in small increments while keeping the camera still. Watch the illuminated cheek, eye socket and catchlight. This teaches more than immediately copying a named lighting pattern. The goal is a readable expression with deliberate shadow placement, not a mandatory triangle or a perfectly symmetrical reflection in every eye.
Control contrast with simple materials
A white reflector returns some existing light into the shadow side. Its effect depends on position, size and distance. Move it until you can see the change rather than assuming it works because it is in the room. A silver reflector can return a stronger, more directional reflection and may be uncomfortable in direct sun.
Black fabric or foam board can reduce bounced light; this is often called negative fill. Place it outside the frame on the shadow side to increase local contrast. A flag blocks unwanted spill from reaching the lens, subject or background. Keep fabric away from hot fixtures and secure every stand. Do not suspend heavy equipment over a person with an improvised support.
Use distance as a design control
Moving a compact light closer increases illumination and can make the exposure difference between near and far surfaces more pronounced. For an ideal point source, illumination falls with the square of distance. Real softboxes and nearby extended sources do not always follow that simple model closely, but the practical lesson remains: relative distances matter.
If the face is close to the light and the background is much farther away, the background can fall dark without a dark backdrop. Move the light farther away and exposure may become more even across a small group, although you will need more power and the source may appear smaller. Change one distance at a time and note both shadow quality and background brightness.
Choose continuous light or flash deliberately
Continuous lighting lets you see the pattern directly and is useful when recording video alongside stills. However, a light that looks bright to your eyes may still require a slow shutter or high ISO. Check flicker and banding at your intended shutter speed. Fixture color quality and consistency matter when photographing skin, fabric or products.
Flash can deliver a short burst with substantial output from a portable unit. Within ordinary synchronization limits, shutter speed mainly changes the ambient contribution, while aperture and ISO affect both flash and ambient brightness. Flash power and distance control the flash contribution. This separation is useful, but flash duration, ambient spill and the subject’s speed still determine whether motion appears frozen.
Stay within your camera’s normal sync limit unless you deliberately use supported high-speed synchronization. HSS reduces available output and changes the trade-offs; it is not free extra shutter speed. Electronic shutter modes can restrict flash operation. Check the camera and trigger manuals before assuming compatibility.
Build a repeatable portrait or still life
For a portrait, place a window or diffused light to one side and slightly above eye level, then adjust to the person rather than forcing a rigid position. Begin without a reflector. Add one only if the shadow loses information you want. Ask whether the brightness is comfortable and allow breaks, especially with children or sensitive subjects.
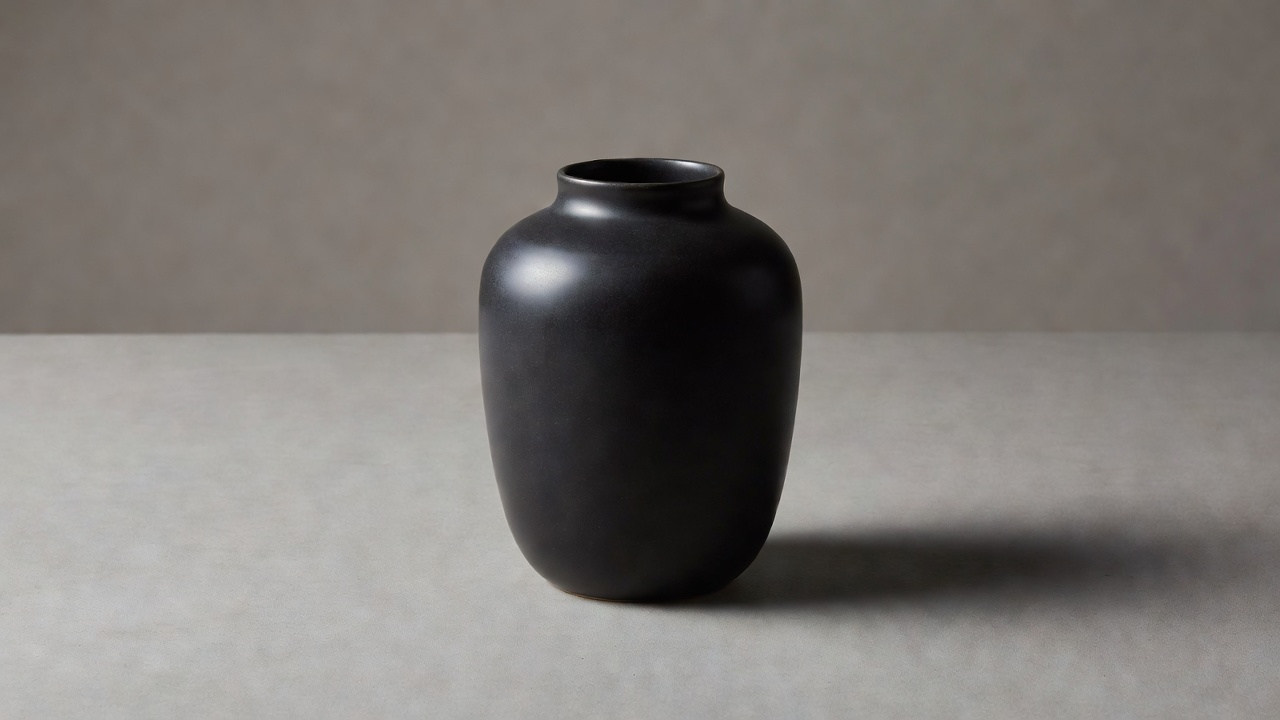
For a still life, rotate the object to reveal its surface before changing the light. Glossy materials reflect the environment, so a larger diffusion surface may appear as a broad highlight rather than simply “softer illumination.” Move a white board or black flag and watch its reflection. Use a stable support when long exposures are practical.
Record the setup, not only the settings
Write down source position, approximate distance, modifier, subject position and any fill. Photograph the arrangement if you have permission and can avoid including private information. Camera exposure alone cannot reproduce a lighting setup because it says nothing about the geometry that created it.
With mixed sources, compare their color before making a global white-balance adjustment. A warm practical lamp and cooler daylight may need separate local treatment, matching gels or a deliberate creative choice. Once the light communicates the intended shape, continue to the editing workflow with less corrective work and a clearer tonal target.